There’s something about fresh herbs that can turn a humble dish into one worthy of being served at a Michelin-starred restaurant. But their invigorating aromas aren’t all they’re good for.
Several culinary herbs like rosemary, sage, oregano, mint, basil, and parsley are also known to provide powerful health benefits.
As integral as they are to the art of cooking, herbs have a reputation for being highly perishable and high maintenance.
However, with simple storage tips in this blog, you can extend the shelf life of your delicate greens significantly.
Table of Contents
Different Types of Herbs
We can break down most culinary herbs into two main categories - Soft Herbs and Woody Herbs. Understanding the differences in their basic nature is key to forming the right storage plan for them.
Soft Herbs
Herbs like cilantro, basil, dill, parsley, and mint have delicate grass-like stems that require gentle handling. Because of their soft, tender texture, both stems and leaves are prone to bruising and wilting.
A tried and tested storage strategy for storing these herbs is to clean them well and place them upright in a jar with the ends submerged in a couple of inches of water.
The ideal location to store the jar would be the fridge or a cool spot in your kitchen. As far as cooking goes, these herbs are generally added at the end for maximum flavor.
Instead of being discarded like their woodier counterpart, the stems are palatable enough to be added to the dish along with the aromatic leaves.
Woody Herbs
Unlike soft herbs, woody or hearty herbs have thick stalks that are best discarded. Some popular herbs that fall in this category are rosemary, thyme, sage, bay, and oregano. Their sturdy yet flexible stems also make them durable.
The proper way to store them would be to wrap them in a damp towel and place them in a sealed container before putting them in the fridge. You can add these herbs at any stage of the cooking.
Related Article: Eco-Friendly Kitchen Products You Must Have to Live a Sustainable Lifestyle
Things to Keep in Mind When Storing Herbs
You’ll need to keep a few factors in mind to stop your bounty of herbs from going bad too soon. We’re talking about the usual suspects - moisture, oxygen, sunlight, and temperature - and creating the perfect storage environment depending on the type of herb.
The good part is, when stored properly, most fresh herbs can last you a good two to four weeks.
-
Moisture: Too much moisture is never good news for herbs, whether they’re soft or woody. It makes them go mushy, soggy, slimy, and even moldy. That’s not to say that herbs don’t need moisture, as less of it can dry them out and zap most of their flavor. Even in the water jar method, you only keep the stems submerged in an inch or two of water while making sure it never reaches the leaves.
-
Oxygen: Overexposure to oxygen is bad for fresh herbs as it speeds up browning while reducing flavor and potency. A surefire way to stop oxygen from getting to herbs is to wrap them well and store them in sealed bags or airtight containers. You may have probably noticed the difference in taste between properly covered herbs and those left uncovered in the fridge.
-
Direct Sunlight: It’s a good idea to store thin, delicate herbs like cilantro and parsley away from bright light to keep them from turning yellow. Storing them in a spot that receives a generous amount of sunlight can impact the chlorophyll (green pigment) in them, causing them to go yellow in no time.
-
Temperature: Most herbs can last two weeks or more if stored in the refrigerator, mainly because of their temperature requirements. The soft leaves and tender stems don’t hold up well to too much heat, which speeds up the decay.
Cold conditions, like that of the back of the bottom shelf, aren’t good for them either. It can cause ice crystals to form, damaging cells and making the herbs mushy. The optimum temperature for storing herbs is in the range of 3 degrees C to 4 degrees C.
How to Store Herbs for Maximum Freshness and Flavor
Prep Herbs for Storage
It’s a common misconception that washing herbs before storage is not a good idea. While it’s true that excess moisture can speed up the rot, cleaning the herbs is crucial for getting rid of the dirt and bacteria.
You can prep them for storage by removing brown discolored leaves before placing the herbs in a salad spinner and washing them under running water. Now, drain the water and spin the herbs to dry them.
Laying them out on a tea towel and patting them is another surefire way to remove the excess moisture.
For long-lasting storage, ensure the herbs, particularly the leaves, are damp but not wet. We already know that too much moisture can trigger rotting and cause the herbs to turn slimy.
Use the Wet Jar Method for Soft Herbs
The ‘Wet Jar’ is a popular technique to extend the shelf life of tender herbs. This method requires you to treat the herbs like a fresh floral bouquet.
- 1. Start by removing the rubber band or whatever that’s holding the bunch together and allow the herbs to breathe.
- 2. Now wash them under cold running water to remove the dirt and debris. Set them on some cotton kitchen towels or flour sack towels and pat them dry to remove excess moisture.
- 3. The next task would be to place the herbs in a mason jar (or any glass jar) filled with about a couple of inches of cool water. The quantity of water should be enough to submerge the ends without getting to the leaves.
- 4. Loosely cover the jar with a bag and pop it in the fridge. Make sure to change the water every few days.
The wet jar technique gives soft greens what they need - perfect temperature, reduced exposure to oxygen, and just the right amount of hydration to keep them from drying out in the fridge.
This method works well for the softer, fragile varieties of herbs, except for basil and mint. It so happens that the delicate leaves of these herbs make them intolerant to the cold conditions of a fridge, making them turn black.
Instead, store them on the countertop at room temperature.
Wrap Hearty Herbs in Damp Towels
Robust herbs like thyme, rosemary, and sage stay fresh and happy when wrapped in a damp cloth or paper towel. You can treat them like a vegetable when it comes to storage and pop them in the crisper unit of your refrigerator. But not before following these steps:
- 1. Prep the herbs by washing them and draining excess water using a salad spinner.
- 2. Next, roll them up horizontally in the towel and place them in resealable bags or containers to limit the exposure to oxygen. This helps in keeping the greens moist, so they don’t dry out soon.
- 3. Place the herbs in the crisper drawer of your fridge.
- 4. Keep checking on the herbs every couple of days to look for signs of molding, as well as changing the towel.
You don’t need to store different varieties of woody herbs separately. They do just fine, even when bundled together.
Dry the Leftover Herbs
Stuck with more herbs than you can immediately consume? Well, you can always dry them for future use. However, herbs that hold up well to drying are generally the thick, hearty ones, like thyme, rosemary, and oregano.
Here are the two most popular ways of drying your stock of unused herbs.
-
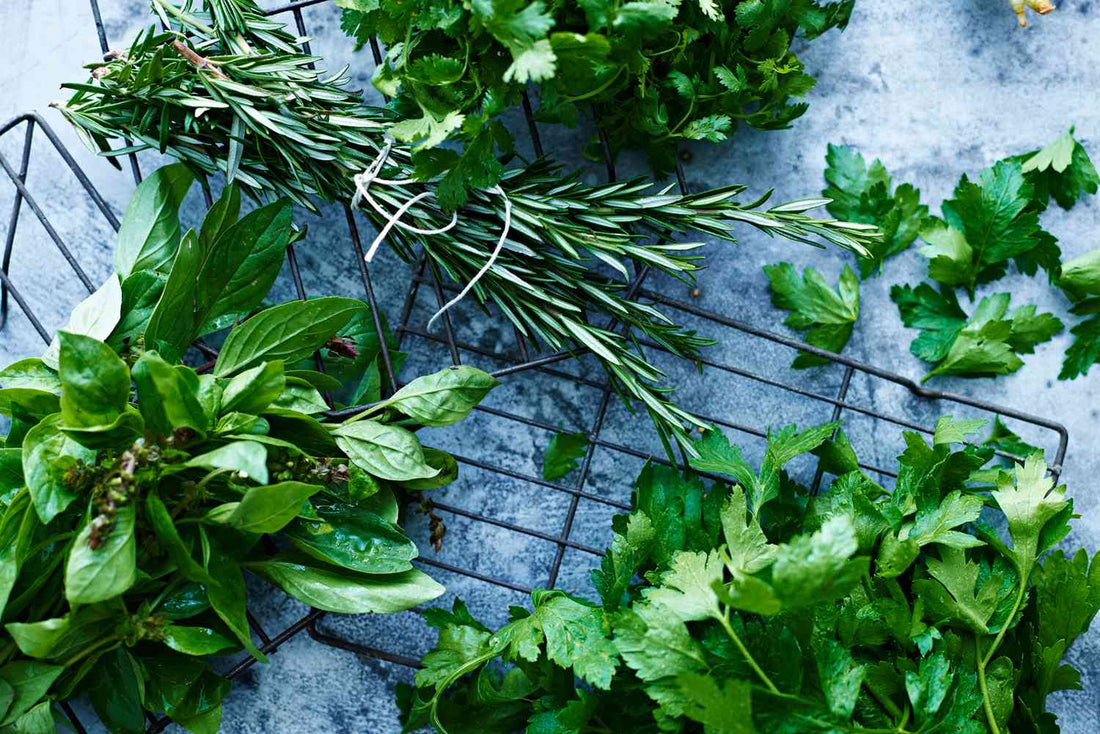
1. Air Dry: The classic, time-tested way you dry herbs is by creating small bundles of the same type of herb using twine. Next, find a warm, airy spot away from bright light and hand the bundles upside down. It could take anywhere between one to two weeks for the herbs to become brittle enough to crumble easily.
- 2. Microwave: If you’re hard-pressed for time, a quicker way to dry herbs is to pop them in the microwave. Here’s the thing about microwave: it doesn’t heat up uniformly but is quite effective in heating the water and using it to heat the food.
When you microwave the herbs, the moisture in them quickly evaporates while keeping their flavors intact. Don’t toss big bundles of herbs in the microwave, as they can catch fire. Instead, take four to five stems, place them between paper towels, and microwave for a minute or two.
Freeze Herbs for Long-Term Storage
Freezing is a great way to tackle any excess stock of fresh herbs and keep them fresh for several months. Granted, they might not look great once thawed, but they’ll still elevate your cooking with their rich flavors. Here’s a round-up of various ways to freeze herbs.
Puree: Remove the stems, wash the herbs, and dab them dry. Coarsely chop the herbs and transfer them into a food blender jar. Add some oil or water and blitz them into a smooth puree. Now, transfer the contents to labeled freeze-safe resealable bags. Mingling different herbs will make the puree taste spectacular.
Ice Cubes: Wash the herbs, dab them dry, and be sure to remove the stems. Take a small amount of chopped herbs and put them gently in a square of an ice tray. Fill all the squares with herbs and pour some water over them. Freeze the ice cubes and transfer them into zip-loc bags.
Airtight Containers: Remove the stems and clean the herbs before chopping them. Fill resealable freezer bags or airtight containers with coarsely chopped herbs and pour a drop of oil into each bag. Remove excess air from the bags and store them in the freezer.
Final Thoughts
We hope the tricks and storage hacks we shared today will help you get the most out of your delicate greens.
While you’re at it, help the planet by cutting down on plastic waste by opting for sustainable kitchen products and reusable produce bags.